
How to Get a Russian Visa Invitation Letter: Step-by-Step
A practical guide to choosing the correct invitation, supplying passport-accurate details, checking the issuer and using the document in a regular Russian visa application.
Reviewed by iVisa Editorial Team. Official sources last checked 2026-09-04.
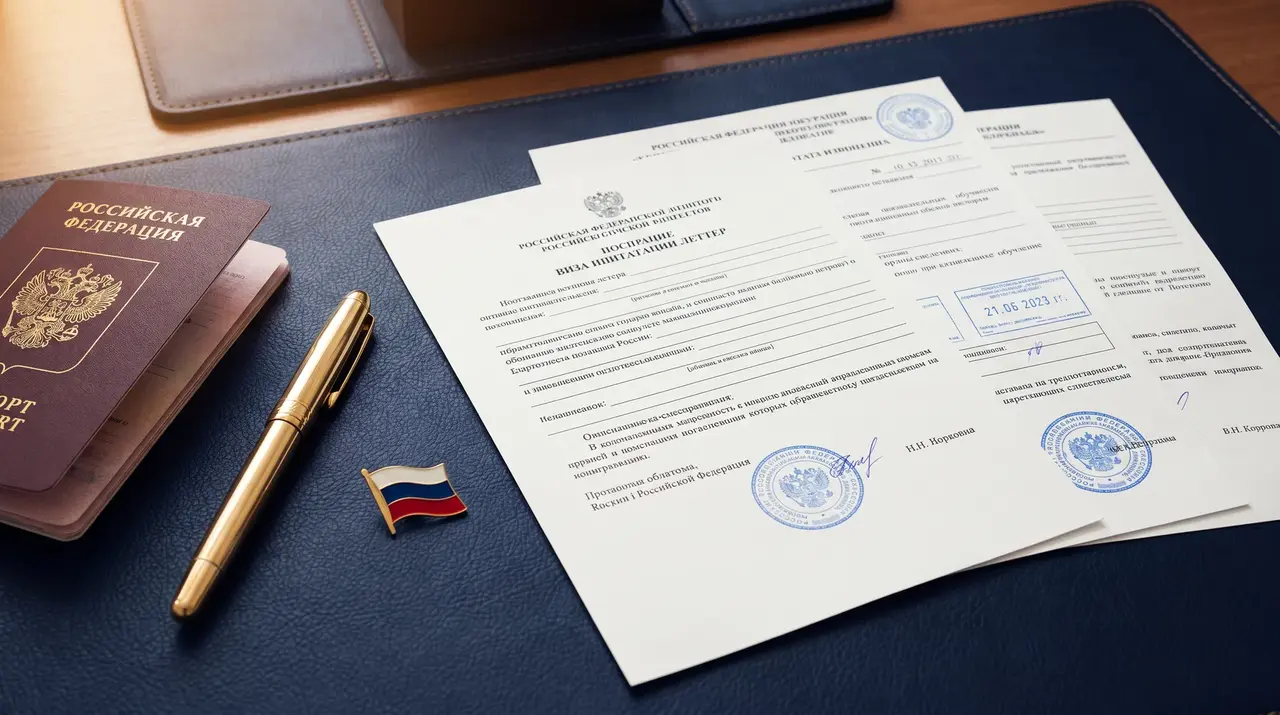
To receive a tourist invitation to Russia, please indicate your citizenship. You will be provided with a registration form. Fill in all the fields carefully, then proceed to the next step to confirm and pay for your invitation.
To get a Russian tourist visa invitation, choose a registered Russian tour operator, provide passport-accurate personal and trip details, review the issued tourist confirmation and voucher, then use those details in your regular visa application. The invitation supports the application; it is not the visa and does not guarantee approval.
First decide whether you need an invitation
A tourist invitation is used for a regular consular tourist visa. It is commonly described as a letter of invitation, visa support, tourist confirmation or tourist voucher. Official mission instructions may use more than one of those terms, so the safest approach is to follow the terminology and checklist published by the mission that will receive your application.
A unified electronic visa is a different route. The Russian MFA states that an e-visa application does not require an invitation or confirmation.[1] Eligibility is determined by citizenship, not by where the applicant lives. If your nationality is eligible, you may still choose a regular tourist visa when that route better fits the trip, but the regular application then follows the mission's document rules.
Do not buy an invitation before deciding which visa route you will use. An invitation is relevant to a regular tourist visa, not to the unified e-visa application.
Step 1: choose a legitimate issuing organization
For a regular tourist visa, use a Russian travel organization that is entitled to issue tourist confirmations. The federal tour-operator register is useful for checking whether the named operator is registered.[2] A registry entry confirms the organization, not the authenticity of every PDF that uses its name.
Avoid sellers that promise a visa approval, refuse to identify the issuing organization, ask you to alter passport details, or present an unverifiable rating as proof that a document is official. A legitimate provider should explain what it issues, what information is required and how corrections are handled.
Step 2: provide passport and trip details exactly
Use the spelling, passport number, date of birth and nationality shown in the passport you will submit. Official U.S. tourist-visa instructions warn that the information in the voucher must correspond to the passport.[3] That principle is useful for every applicant even though local submission requirements differ.
Provide realistic travel dates, intended cities and accommodation information. If the itinerary changes before you file, ask the issuer whether the invitation should be corrected rather than editing the document yourself.
- Full name exactly as printed in the machine-readable passport
- Passport number, issue date and expiry date
- Date of birth, sex and citizenship where requested
- Planned entry and exit dates
- Cities and accommodation or itinerary details
- Email address for document delivery and correction notices
Step 3: inspect the issued document
A tourist confirmation normally identifies the traveller, trip dates, itinerary or accommodation, the host organization and its reference details. The New York consulate's current instructions also describe an official stamp and responsible-person signature among the expected voucher details.[3] The exact layout can vary, so visual similarity to an online sample is not proof by itself.
Check every passport field before copying invitation details into the official visa application form. If something is wrong, request a corrected version and keep the corrected document with your application records.
Step 4: complete the visa application and local checklist
Complete the application through the official Russian MFA form at visa.kdmid.ru.[4] Select the mission named for your filing location and use its current checklist for the passport, photograph, insurance, fees, appointment and submission method. A checklist from another country is not a reliable substitute.
The invitation supports the stated tourist purpose. The consulate or visa centre controls acceptance of the application, may request additional documents and makes the visa decision. Keep the provider's preparation process separate from the consular timeline.
| Stage | Who controls it | What to verify |
|---|---|---|
| Invitation preparation | Issuing tour operator | Passport data, dates, host details and correction policy |
| Visa application | Applicant | Form answers match passport and invitation |
| Submission | Consulate or authorized centre | Current local checklist, fee and appointment rules |
| Visa decision | Russian consular authority | No invitation provider can guarantee the outcome |
Continue with the right canonical guide
Order a Russian tourist invitation
Use the commercial owner when you are ready to request a tourist confirmation.
View an anonymized invitation sample
See the fields and document-reading checklist without treating appearance as authentication.
Compare tourist voucher and visa support letter
Understand the overlapping terminology used by applicants and missions.
Frequently asked questions
Can I get a Russian visa invitation letter online?
A tourist confirmation can be requested online from an eligible issuing organization and delivered electronically when the provider offers that workflow. Check the issuer, enter passport data accurately and follow the receiving mission's rules on printed or electronic documents.
Is a Russian visa invitation the same as the visa?
No. The invitation is a supporting document for a regular visa application. The visa is issued by a Russian consular authority after it reviews the complete application.
Do I need an invitation for a Russian e-visa?
No. The official Russian MFA e-visa portal states that an invitation or confirmation is not required for the unified e-visa route.
Can a hotel booking replace a tourist invitation?
A reservation alone should not be assumed to replace the tourist confirmation required by the responsible mission. Follow that mission's current wording and obtain the document it lists.
Official sources
- [1] Russian MFA — Unified e-visa portal
- [2] Russian Ministry of Economic Development — Tour-operator register
- [3] Russian Consulate in New York — Tourist visa requirements
- [4] Russian MFA — Visa application form
Rules, fees and filing channels can change. Recheck the responsible mission or official portal immediately before applying.